5 Common Mistakes to Avoid When Doing Leather Couch Hole Repair
Leather furniture represents a significant investment in your home’s comfort and style. When holes appear in your cherished leather sofa, armchair, or leather couch, the temptation to attempt a quick DIY repair is understandable. However, without proper knowledge, these well-intentioned efforts can often make the damage worse. Whether you’re dealing with a small puncture, a tear from pet claws, worn patches on armrests, or holes in your leather couch, understanding the common pitfalls in leather repair can save you time, money, and frustration. This guide explores the five most frequent mistakes people make when repairing holes in leather furniture and provides expert advice on how to avoid them. While this guide focuses on furniture, many of the same principles also apply to repairing other leather items such as bags.
Introduction to Leather Repair
Leather repair is both an art and a science, requiring the right combination of techniques, tools, and materials to achieve successful leather repairs. Whether you’re dealing with small tears, scratches, or colour loss on your leather items, having a quality leather repair kit is essential. These kits are specifically designed to help you restore leather and vinyl items to their original beauty, often including leather glue, leather filler, and leather paint that work together for a seamless, long-lasting repair.
The process begins by carefully following the instructions provided with your repair kit. Using the right leather glue ensures a strong yet flexible bond, while leather filler helps to smooth out any imperfections or holes. Leather paint, available in a range of colours, allows you to match the repaired area to the surrounding leather for a natural look. By applying these products in the correct order and using the recommended techniques, you can restore your furniture, car interiors, handbags, and more, extending the life of your favourite leather items. With patience and attention to detail, even a DIY project can yield professional-looking results and help you avoid costly replacements.

1. Using Inappropriate Repair Products
One of the most critical errors in leather repair is using products not specifically designed for leather. Many homeowners reach for whatever adhesive they have on hand-superglue, craft glue, or even household tape-with disastrous results. Instead, consider using specialized leather repair kits, such as a leather sofa repair kit that comes with full instructions for use.
Why Generic Adhesives Fail
Standard household adhesives like superglue create rigid bonds that crack when the leather naturally flexes. These products also typically contain chemicals that can react with the leather’s finish, causing discoloration or creating a hard, shiny patch that stands out from the surrounding material.
Choosing the Right Products
For proper leather repair, you need:
- Leather-specific fillers that maintain flexibility (ideal for repairing small tears as well as holes)
- Professional-grade leather adhesives designed to create a flexible bond
- Color-matched leather dyes rather than standard paints
- Leather conditioners to maintain the material’s natural properties
Using specialized leather repair kits can be a good starting point for minor repairs, but understanding their limitations is essential. These kits typically work best for small punctures rather than larger tears or holes with missing material
2. Poor Color Matching Techniques
The second major mistake occurs during the color matching process. Leather comes in countless shades and finishes, and achieving an invisible repair requires precise color matching. There are often undertones that aren’t immediately apparent. Sometimes, colors like blue need to be added in a small amount to the base colours to achieve the perfect match.
Common Color Matching Errors
Many DIYers underestimate the complexity of leather coloration. Leather typically has depth and variation in its color, often with subtle undertones that aren’t immediately apparent. Using a single-tone repair product frequently results in patches that stand out prominently against the original leather.
Another frequent error is failing to test colors in an inconspicuous area before applying them to the damaged section. Leather dyes can appear different once dry. It is important to wait until the area is touch dry before assessing the final color result. The dyes may also react differently depending on the leather’s finish and previous treatments.
Achieving Better Color Results
For successful color matching:
- Observe your leather in different lighting conditions to identify all color variations
- Create a custom blend of leather dyes to match the specific shade
- Apply colors in thin layers, building up gradually rather than in one thick application
- Test your color match in an inconspicuous area first
- Consider the leather’s finish (matte, semi-gloss, or high-gloss) when selecting repair products
As a general rule, always allow each layer of dye or paint to dry fully before proceeding to the next step.
Professional leather restoration services like LeatherXpert have extensive experience with color matching and access to professional-grade colorants that can be precisely mixed to match even the most unique leather shades.
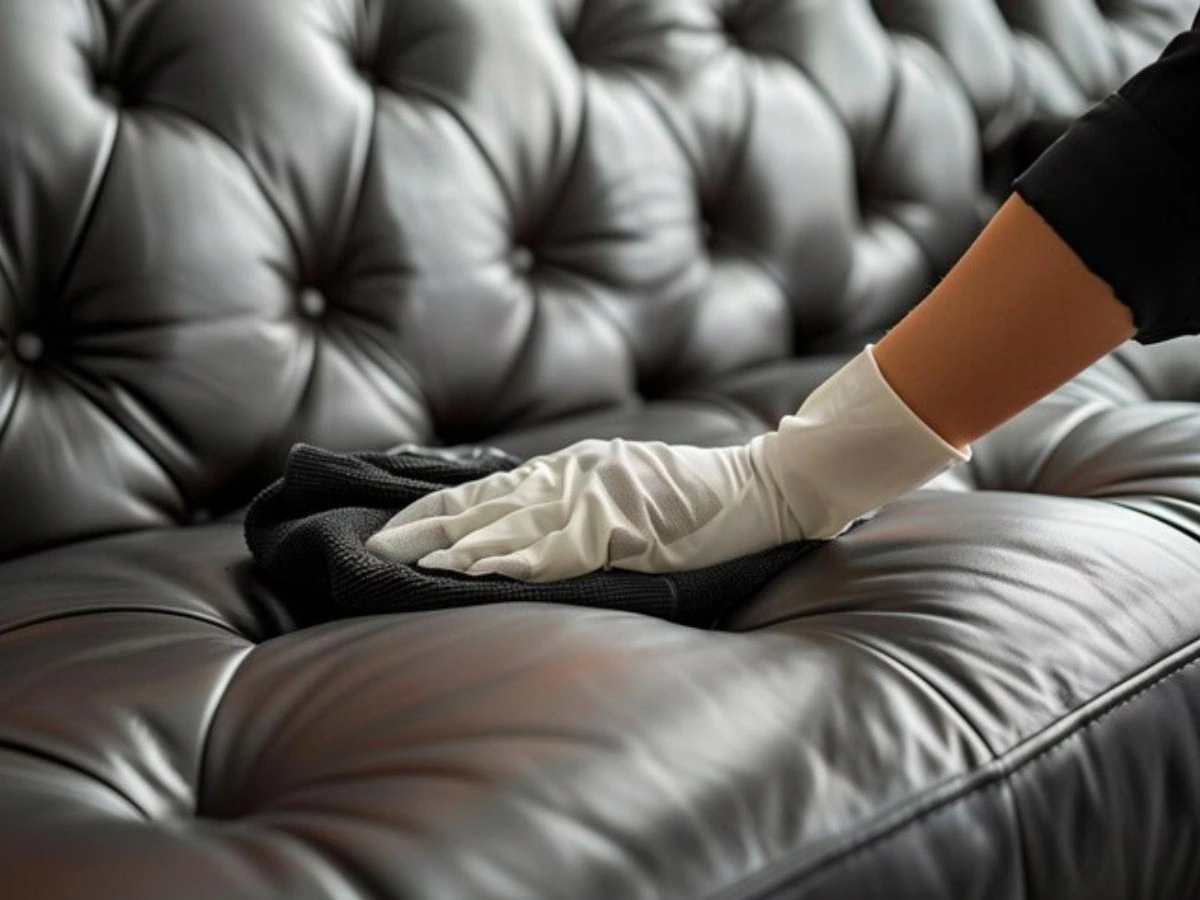
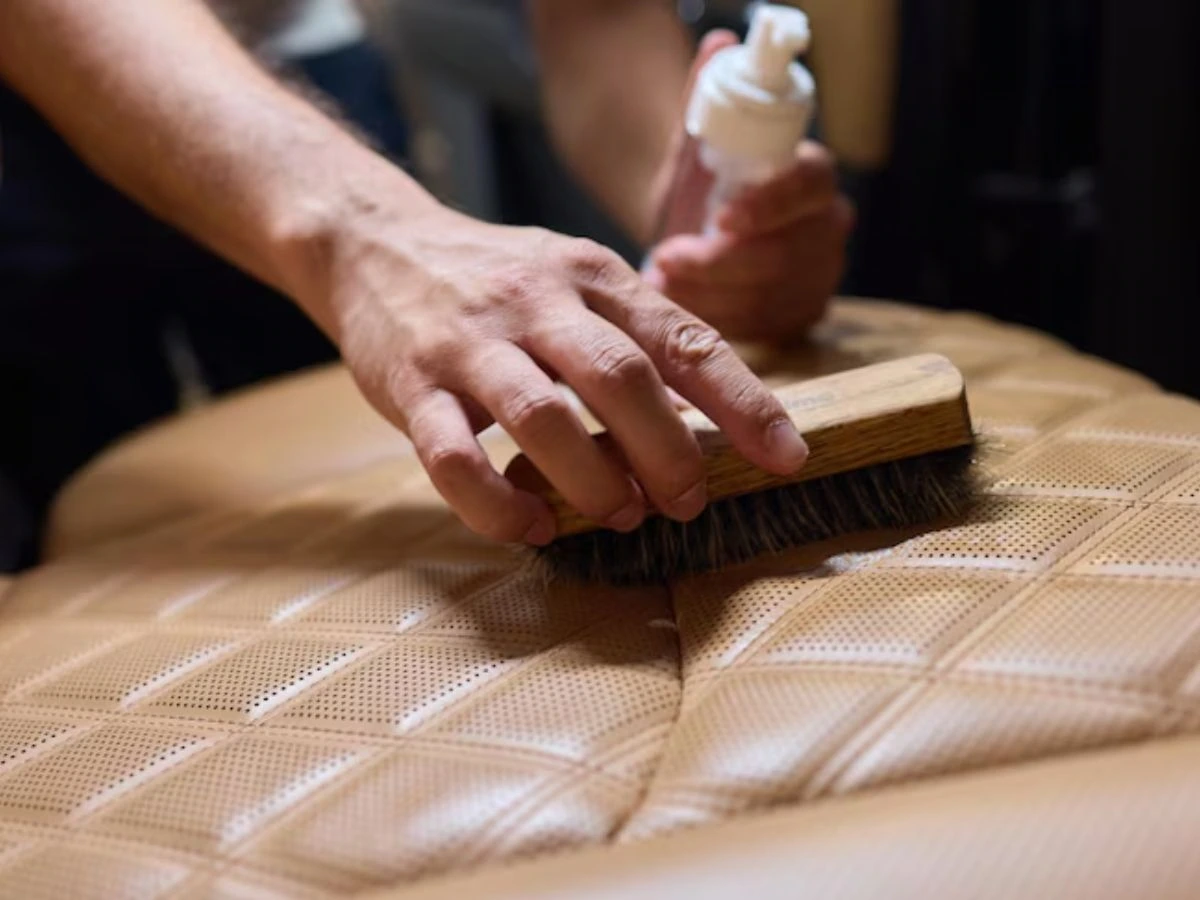
3. Improper Surface Preparation
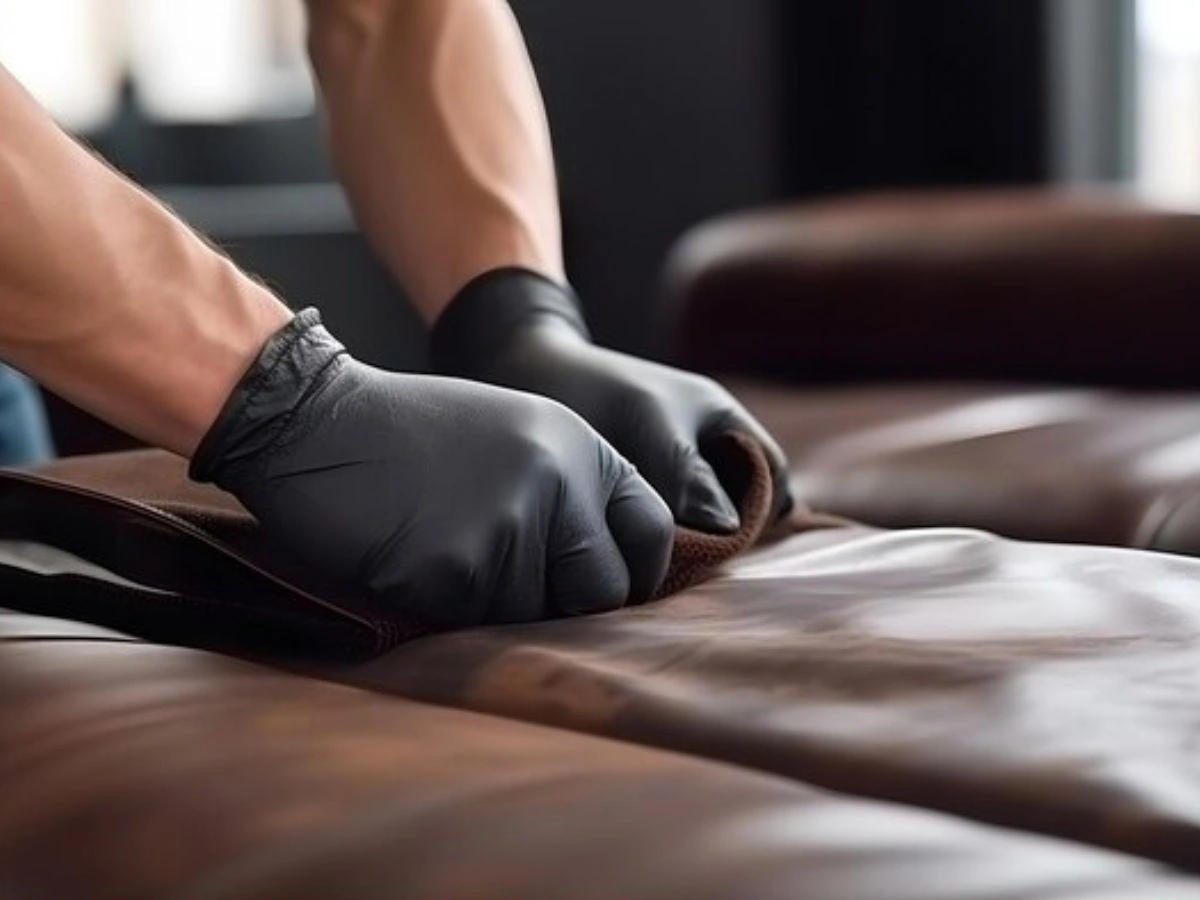
The third critical mistake occurs before the repair even begins. Proper preparation of the damaged area is essential for a successful repair, yet it’s often rushed or overlooked entirely. Using a clean cloth to wipe the surface and a sponge to apply cleaning solutions can help ensure the area is free of dirt and oils.
Remove any loose fibers or debris from the hole. If the damage extends into the underlying fabric, ensure that any fabric is also cleaned and smoothed before proceeding.
Why Preparation Matters
Leather repair products adhere best to clean, properly prepared surfaces. Dirt, oils, and previous repair attempts can all interfere with adhesion, causing new repairs to fail prematurely. Additionally, failing to properly assess the damage can lead to using inappropriate repair techniques.
Proper Preparation Steps
For effective leather repair preparation:
- Thoroughly clean the damaged area using a leather-specific cleaner
- Remove any loose fibers or debris from the hole
- If the hole is large, insert a sub patch beneath the damaged area to provide support for the repair.
- Gently sand rough edges if necessary, using very fine sandpaper
- Degrease the area completely
- Allow the leather to dry fully before applying any repair products
4. Incorrect Filling and Texturing Techniques
The fourth common mistake involves the actual filling and texturing process. Leather has a distinctive texture that varies by type and manufacturer, and failing to recreate this texture results in repairs that are visibly obvious. If too much or too little filler is used, the repair will not blend in. It is important to fill the hole with a thin layer of filler to ensure the area can be properly patched and blended with the surrounding leather.
Filling Errors to Avoid
Many DIY repairs fail because too much or too little filler is used. Overfilling creates a raised area that catches light differently from the surrounding leather, while underfilling leaves a depression that’s equally noticeable. Additionally, using the wrong type of filler-one that dries too hard or remains too soft-can compromise both the appearance and durability of the repair. Some modern self sealing fillers can help streamline this step by combining filling and sealing in one product.
Creating Natural-Looking Texture
To achieve a more natural-looking repair:
- Apply filler in thin layers rather than one thick application
- Allow each layer to dry completely before adding more
- Use grain paper or texture tools that match your leather’s specific pattern
- Apply gentle pressure when texturing to avoid flattening the repair
- Consider the direction and depth of the natural grain pattern
- Pay special attention to any seam lines, as these areas may require additional blending to achieve a seamless look.
Professional leather restoration specialists have access to a variety of texturing tools and techniques that can recreate even complex leather grain patterns. They also understand how different leather types require different approaches to texturing.
5. Neglecting Proper Finishing and Sealing
The final common mistake is failing to properly finish and seal the repair. Even if the previous steps are executed well, skipping this crucial final stage can lead to premature failure of the repair. Repaired areas remain vulnerable to moisture, oils, and everyday wear. This is especially true for items made from oil and wax pull-up leather, which require specific products to restore the wax pull effect.
Proper finishing techniques are also essential when repairing leather shoes to ensure durability and a consistent appearance.
Finishing Problems
Without proper sealing, repaired areas remain vulnerable to moisture, oils, and everyday wear. Unsealed repairs can absorb dirt differently from the surrounding leather, becoming increasingly visible over time. Additionally, the repaired area may develop a different sheen or texture from the rest of the furniture.
Professional Finishing Techniques
For a durable, professional-quality finish:
- Apply a leather-specific sealer designed for your leather type
- Use the appropriate finish (matte, satin, or gloss) to match the original leather
- Apply thin, even coats rather than one heavy application
- Allow adequate drying time between coats
- Follow with a leather conditioner to maintain the leather’s natural properties
Why Professional Expertise Is Worth the Investment
Specialized Tools and Materials Professional services possess equipment unavailable to consumers, including industrial-grade fillers with superior flexibility, professional spray equipment for even color application, custom-mixed dyes for precise color matching, and commercial-grade sealers designed for decades of durability.
Irreplaceable Experience Professional technicians bring years of specialized training, allowing them to instantly identify leather types and appropriate repair methods, understand how different leathers age and respond to treatments, recognize potential chemical interactions between products, and troubleshoot when repairs don’t proceed as expected.
Financial Protection Professional services offer written warranties (typically 1-2 years), insurance coverage for any damage during repair, liability protection if repairs fail prematurely, and professional indemnity coverage for high-value items-protections that DIY repairs simply cannot provide.
The Devastating Consequences of DIY Disasters
Irreversible Damage Some amateur mistakes cannot be undone. Using superglue creates permanent hard spots that crack and discolor over time. Incorrect solvents can permanently strip leather’s natural oils, leaving it brittle and prone to cracking. Poor sanding techniques can remove the leather’s protective top coating, making it vulnerable to staining and wear. Heat damage from attempts to speed-dry repairs can cause permanent shrinkage and cracking. These examples represent just a fraction of the hidden dangers of DIY restoration that can turn a simple repair into a complete furniture loss.
Exponential Cost Increases The financial mathematics of DIY failure are stark. A £150 professional repair becomes a £450+ correction project when DIY attempts go wrong. Multiple failed attempts can render leather unrepairable, forcing complete reupholstering that costs thousands of dollars. TColor-matching disasters often compound these costs, as the risks of DIY recolouring for blotchy, cracked or uneven leather frequently require extensive professional correction that costs far more than the original damage would have. The emotional cost of destroying cherished furniture adds another layer of regret to the financial burden.
Red Flags: When DIY Is Destined to Fail
Immediately contact a professional if:
- The damage penetrates completely through the leather
- Previous DIY attempts have already been made
- The leather feels stiff, cracked, or brittle around the damage
- You cannot confidently identify the exact type of leather
- The furniture is still under manufacturer warranty
- The repair area is highly visible or structurally important
- You lack confidence in achieving an invisible repair
What Professional Services Actually Deliver
Professional leather restoration provides comprehensive damage assessment, advanced color-matching using spectrophotometry, multi-stage repair processes with proper curing, invisible reinforcement techniques, long-term value protection, and detailed maintenance guidance to prevent future damage.
The choice between DIY and professional repair often comes down to risk tolerance. The stark reality of professional leather cleaning vs DIY outcomes shows that while DIY might save money if everything goes perfectly, the 70% failure rate means most people end up paying significantly more than they would have for professional service from the start. When you factor in the time investment, material costs, and high probability of needing professional correction, professional repair becomes not just the safer choice-but often the more economical one as well.
Conclusion
Repairing holes in leather furniture requires attention to detail, appropriate materials, and proper techniques. By avoiding these five common mistakes-using inappropriate products, poor color matching, inadequate surface preparation, incorrect filling and texturing, and neglecting proper finishing-you can achieve better results in your leather repair projects.
Note that the techniques described here are not suitable for suede or nubuck leather, which require specialized products and methods. LeatherXpert’s eco-friendly restoration methods and decades of experience ensure that your leather furniture receives the expert care it deserves, extending its life and maintaining its beauty for years to come.
Don’t let a small tear turn into a big regret. Whether it’s a cherished heirloom or a modern statement piece, LeatherXpert is here to revive your leather with precision, care, and eco-friendly expertise. Start your restoration journey with LeatherXpert today!