Picture this: You’ve spent your Saturday afternoon carefully applying what seemed like the perfect leather dye to your beloved sofa, following every YouTube tutorial to the letter. Sofas are among the most common items affected by DIY recolouring attempts. But as the product dries, your heart sinks. Instead of the rich, even colour you envisioned, you’re staring at a patchy, blotchy mess that looks worse than when you started. The leather feels stiff in places, and there are visible streaks across the surface that no amount of buffing will remove. Improper application techniques, such as failing to use a gentle circular motion, often contribute to these uneven results.
This article will explore why DIY leather recolouring so often goes wrong, the science behind these failures, and how to recognise when your leather furniture needs professional attention. Whether you’re considering a DIY approach or dealing with the aftermath of a failed attempt, understanding these risks could save you time, money, and your cherished leather pieces.
The Leather Science Behind the Risks
Understanding why DIY leather recolouring fails requires a basic knowledge of leather types and how they interact with colouring products. Not all leather is created equal, and this fundamental truth is at the heart of most DIY disasters. Absorbent leather items, such as certain types of furniture and accessories, are particularly prone to uneven results.
These challenges apply to a wide range of leather goods, from sofas to handbags.
Aniline vs. Pigmented Leather: The Critical Difference
Leather falls into two main categories: aniline and pigmented (also called protected) leather. Aniline leather is more natural and porous, allowing you to see the hide’s natural grain and imperfections. This type absorbs products readily but unpredictably, making even colour application extremely challenging. Special care is needed to restore leather of this type to its original appearance, as improper methods can worsen damage or fail to reverse fading and dryness.
Pigmented leather, on the other hand, has a protective coating that makes it more resistant to stains and wear. However, this same coating prevents most DIY products from penetrating properly, leading to surface-only colour that easily chips or peels away.
The problem is that most homeowners can’t accurately identify their leather type, leading them to choose inappropriate products and techniques. What works for one type of leather can be disastrous for another.
The Role of Proper Surface Preparation
Professional leather recolouring success depends heavily on proper surface preparation-a step that’s often oversimplified in DIY guides. This process involves deep cleaning, removing old finishes, and sometimes light abrasion to create the right surface for colour adhesion. Proper preparation is essential for successfully restoring leather, as it ensures the surface is clean and ready for any further restoration or conditioning steps.
Without proper preparation, even the best products will fail. Old waxes, conditioners, and accumulated dirt create barriers that prevent new colour from bonding correctly. This is why professional services often spend more time on preparation than on the actual colour application.
Chemical Compatibility Issues
Different leather treatments and dyes have varying chemical compositions. When incompatible products are layered, they can react in unpredictable ways, causing colour changes, texture problems, or even chemical burns to the leather surface.
Professional leather technicians understand these chemical interactions and select products that work harmoniously together. They also know how to test compatibility before full application-a crucial step that’s rarely mentioned in DIY tutorials.
Top DIY Recolouring Mistakes & How to Avoid Them
Learning from common mistakes can help you make informed decisions about leather recolouring. These mistakes can not only impact those looking to refresh their furniture, but also affect leather jackets, handbags, and car interiors. Using a high-quality leather restoration cream can help prevent some of these common errors. Here are the most frequent errors and their consequences:
1. Skipping the Test Patch
The biggest mistake DIY enthusiasts make is diving straight into the full project without testing their chosen product on a hidden area first. This test patch should be left for at least 48 hours to observe how the leather reacts, how the colour develops, and whether any adverse effects occur. Applying a small drop of product to the leather’s surface during this test helps assess compatibility and absorption.
Prevention tip: Always test on an inconspicuous area like the back bottom edge of furniture. If you’re not completely satisfied with the test results, don’t proceed with the full application.
2. Using Inappropriate Cleaning Products
Many people attempt to clean their leather with household products before recolouring, not realising that residues from these cleaners can interfere with colour adhesion. Products containing silicones, oils, or harsh detergents are particularly problematic.
Prevention tip: Use only leather-specific cleaning products, and always use a clean lint free cloth to avoid leaving lint or residue on the leather. Ensure the leather is completely dry before applying any colour. Consider eco-friendly leather cleaners that won’t leave harmful residues.
3. Applying Too Much Product at Once
The temptation to achieve full coverage quickly leads many DIYers to apply thick coats of colour. This approach typically results in uneven absorption, longer drying times, and a higher risk of cracking or peeling.
Prevention tip: Apply multiple thin coats rather than one thick application. For darker colours, one coat is often sufficient, but lighter colours may require two coats for full coverage. Allow each coat to dry completely before applying the next. After the final coat, buff the surface to achieve a smooth, polished finish.
4. Ignoring Environmental Conditions
Temperature, humidity, and air circulation all affect how leather dyes perform. Applying products in unsuitable conditions can lead to poor adhesion, extended drying times, or colour inconsistencies.
Prevention tip: Work in a well-ventilated area with stable temperature (ideally 18-22°C) and moderate humidity. Avoid working in direct sunlight or near heat sources.
5. Choosing the Wrong Product Type
Not all leather colouring products are suitable for furniture. Some are designed for clothing, shoes, or automotive applications and may not provide the durability or finish appropriate for upholstery.
Prevention tip: Select products specifically designed for furniture leather, and choose eco-friendly options when possible to minimise health and environmental impacts. Leather restorer, leather colour restorers, and colour balm are examples of suitable products for reviving and recolouring worn or faded leather. Choosing the right product can be the ultimate solution for restoring your leather to its original beauty.
Leather Balm and Conditioner: The Overlooked Step in Lasting Results
Restoring faded leather with a leather colour restorer is only half the battle-maintaining that fresh look requires proper aftercare. Applying a high-quality leather conditioner in thin coats helps lock in the new colour and keeps your leather items soft and supple. Allow each coat to dry fully before adding another, ensuring the conditioner penetrates deeply and evenly.
For leather car seats and leather furniture, don’t forget to finish with a leather protection cream. This extra layer shields against cracked leather and worn leather, helping to prevent further damage from daily use. By making conditioning and protection a regular part of your routine, you’ll extend the life of your favourite leather items and keep them looking and feeling their best, whether it’s a cherished armchair or the seats in your car.
Troubleshooting: What to Do When Things Go Wrong
If you notice colour fading or uneven colour loss after using a leather colour restorer, don’t worry-there are steps you can take to fix it. Start by reapplying the product in thin coats, allowing each coat to dry completely before adding the next. This gradual approach can help even out the colour and restore a consistent finish.
For persistent issues, consider using a leather recolouring balm, which can provide extra coverage and help blend minor imperfections. If you’re dealing with scratches or minor scuffs, a leather repair kit can be a quick fix for touching up the damaged area. Always remember to test any new product on an undamaged area of the leather item first to ensure compatibility and avoid further problems. If the issue persists or the damage is extensive, it may be time to consult a professional leather restoration expert for advice and assistance.
When DIY Isn’t Enough
Recognising when to abandon DIY attempts and seek professional help can save you from costly mistakes and further damage to your leather furniture. Professional restoration services can return even damaged leather to its former glory, reviving its original appearance and vibrancy.
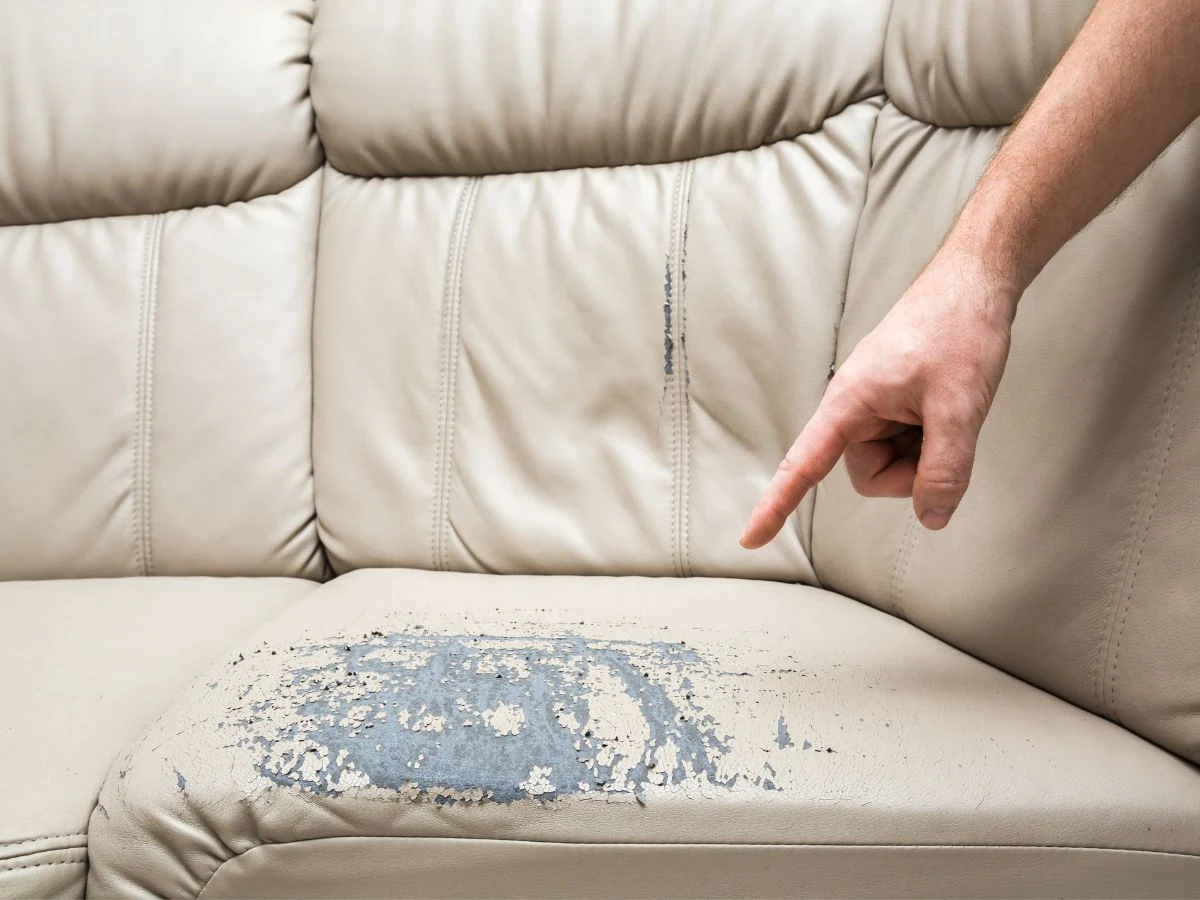
Warning Signs That Indicate Professional Help is Needed
If your leather shows extensive cracking, peeling, or colour loss across large areas, DIY solutions are unlikely to provide satisfactory results. Similarly, if previous DIY attempts have failed or made the problem worse, professional intervention becomes necessary.
Valuable or antique leather pieces should always be handled by professionals, as should leather furniture with significant sentimental value. Leather sofas with extensive damage are best left to experts, as professional restoration ensures the best results and prevents further deterioration. The risk of irreversible damage simply isn’t worth the potential savings.
The Professional Diagnostic Approach
Professional leather restoration begins with a thorough assessment that most homeowners can’t replicate. This diagnostic process identifies the leather type, assesses the extent of damage, determines the cause of problems, and develops a tailored restoration plan.
Conclusion
DIY leather recolouring might seem like an attractive option, but the risks of blotchy, cracked, or uneven results are significant. The science behind successful leather restoration is complex, involving understanding leather types, chemical compatibility, and proper application techniques that take years to master.
The most common DIY mistakes from skipping test patches to using inappropriate products can turn a simple refresh project into a costly restoration nightmare. When you factor in the time, materials, and potential damage costs, professional leather recolouring often proves more economical than the DIY approach. Professional services not only restore the colour of your leather, bringing back its vibrant appearance, but also keep your leather soft and supple for a longer-lasting, luxurious feel.
Ready to transform your leather furniture? Request your free quote today and discover how LeatherXpert’s 30+ years of expertise can restore your leather to its former glory. Your furniture deserves professional care-make the right choice from the start.