You’ve noticed a tear in your beloved leather sofa, and your first instinct might be to grab a DIY repair kit from the local hardware store. After all, how difficult could patching leather be? Unfortunately, many homeowners discover that what seems like a straightforward repair project often leads to disappointing results that can actually make the damage more noticeable than before.
Leather furniture represents a significant investment, and when damage occurs, the temptation to save money with a quick fix is understandable. However, leather is a complex natural material that requires specific knowledge, techniques, and materials to repair properly. In this comprehensive guide, we’ll explore why DIY leather patching frequently goes wrong, examine the different types of leather and their unique repair requirements, and help you understand when professional intervention becomes the wisest choice for preserving your furniture’s beauty and value.
Why DIY Leather Patching Often Fails
Mismatched Materials and Colours
One of the most common pitfalls in DIY leather repair is the challenge of matching materials and colours accurately. Leather ages and develops a unique patina over time, making it nearly impossible to find an exact match using standard repair kits. What appears to be a close colour match in the store often looks glaringly different once applied to your sofa. Professional repair kits address this issue by offering a wide range of leather paint base colours, making it easier to achieve a closer match to your sofa and blend repairs seamlessly.
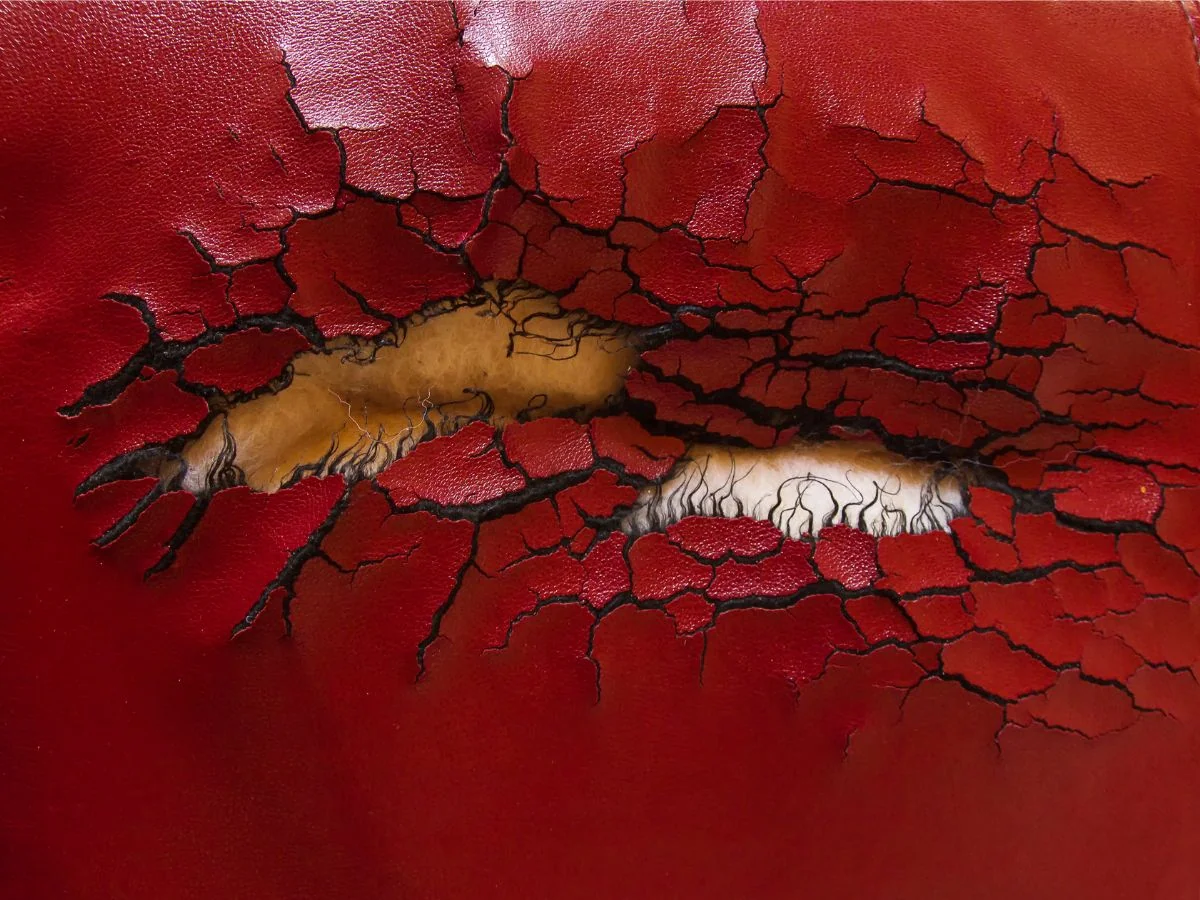
Most DIY kits contain generic leather patches and colourants that rarely match the specific grain pattern, texture, or exact shade of your furniture. Even if you manage to find a seemingly perfect colour match initially, the repair may age differently than the surrounding leather, creating an obvious patch that becomes more noticeable over time. These colour matching challenges are just one aspect of the broader risks of DIY recolouring for blotchy, cracked or uneven leather that can plague amateur restoration attempts.
Inadequate Surface Preparation
Professional leather restoration requires meticulous surface preparation, a step that’s often overlooked or inadequately performed in DIY attempts, like using a leather prep pad . The damaged area must be thoroughly cleaned, degreased, and sometimes sanded to ensure proper adhesion of repair materials. Without proper preparation, patches may not bond correctly, leading to edges that lift, bubble, or peel away entirely.
Many homeowners underestimate the importance of removing all traces of leather conditioners, oils, and accumulated dirt from the repair area. These substances can prevent adhesives and colourants from bonding properly, resulting in repairs that fail within weeks or months of application, possibly leading to issues like leather burns .
Incorrect Technique Application
Leather repair involves specific techniques for different types of damage, and applying the wrong method can worsen the problem. For instance, attempting to patch a small puncture with the same technique used for larger tears often results in an unnecessarily large and obvious repair. When dealing with small punctures and tears, it’s important to assess the torn leather piece and prepare it correctly before repair. Repairing small tears requires specific techniques and attention to detail to ensure the repair blends in with the surrounding material. Similarly, using too much adhesive or applying it incorrectly can create hard, unnatural-feeling areas that stand out both visually and tactilely. Properly addressing ripped edges is crucial to ensure a seamless and durable repair.

Understanding Different Types of Leather
Aniline and Semi-Aniline Leather
Aniline leather, prized for its natural appearance and soft feel, presents unique challenges for repair work. This type of leather is dyed with transparent dyes that allow the natural grain and markings to show through, making it extremely difficult to match during repairs. The leather absorbs liquids readily, which means any repair materials must be applied with exceptional precision to avoid creating water marks or when you apply leather dye, resulting in colour variations.
Semi-aniline leather, whilst slightly more forgiving due to its light protective coating, still requires careful handling during repairs. The coating can react unpredictably with DIY repair products, sometimes causing discolouration or texture changes that extend beyond the original damage area.
Pigmented and Corrected Grain Leather
Pigmented leather, whilst more durable and stain-resistant, has its own repair challenges. The surface coating that gives this leather its durability can be difficult to match with standard repair kits. When damaged, the coating often needs to be completely removed from the repair area and reapplied, a process that requires professional-grade materials, including heavy filler, and equipment.
Corrected grain leather, where the natural surface has been buffed and an artificial grain applied, requires specialised grain plates and techniques to recreate the original texture. DIY repair attempts on this type of leather often result in smooth patches that contrast sharply with the surrounding textured surface.
The Role of Leather Filler in Repair
Leather filler is a vital component in the process of repairing leather sofas, car seats, and other leather items. When a tear, hole, or crack appears, a complete leather repair kit will often include leather filler to help restore the damaged area. This material is designed to fill in gaps and imperfections, creating a smooth surface that can be coloured and finished to match the rest of your leather furniture.
What Is Leather Filler?
Leather filler is a specially formulated paste included in many leather repair kits, specifically designed to address holes, tears, and surface imperfections in leather furniture and car seats. Made from a blend of leather fibers, latex, and binding agents, leather filler is applied directly to the damaged area to fill in cracks and gaps. Once applied, it dries to form a solid, flexible base that can be sanded to achieve a smooth finish. This step is crucial for creating a seamless repair, as it prepares the damaged area for colouring and finishing. Whether you’re repairing leather car seats or restoring a favourite sofa, using a high-quality leather filler from a reputable repair kit ensures that the repaired area blends in with the surrounding leather, both in texture and appearance.
Why Filler Application Is Tricky for DIYers
Applying leather filler may seem straightforward, but it requires patience and attention to detail to achieve a seamless repair. The key to success is applying the filler in thin layers, allowing each layer to dry completely before adding the next. Rushing this process or using too much filler at once can result in an uneven or lumpy surface that stands out against the surrounding leather. Matching the colour and texture of the filler to the original leather can also be challenging, especially for those new to leather repair. Even with a high-quality leather repair kit, achieving a flawless finish takes practice and a careful approach. For the best results, follow the instructions provided with your repair kit closely and take your time to ensure each layer of leather filler is smooth and fully dry before proceeding, using the right glue to ensure a durable bond .
Common Filler Mistakes and Their Consequences
Many DIYers encounter problems when using leather filler, often due to applying too much at once, not allowing each layer to dry completely, or choosing a filler that isn’t compatible with their specific type of leather. These mistakes can lead to a range of issues, such as a bumpy or uneven surface, a repair that is clearly visible, or even further damage to the leather. To avoid these pitfalls, always use a clean cloth to prepare the leather surface, work in thin layers, and keep the repaired area out of direct sunlight while it dries. If you’re unsure, test the filler on a small, hidden area first. By following the instructions in your leather repair kit and taking care with each step, you can help ensure a smooth, durable repair that blends in with the rest of your leather furniture.
Troubleshooting Common Issues in DIY Leather Repair
Even with careful preparation and the right materials, DIY leather repair doesn’t always go as planned. Some of the most common problems include peeling, cracking, and discoloration of the repaired area. These issues can arise from using the wrong type of leather glue, applying too much or too little filler, or not allowing the repair to dry completely. The hidden dangers of DIY restoration extend beyond simple technique errors to include long-term damage that may not become apparent until months after the repair attempt.
Peeling, Cracking, and Discoloration
Peeling, cracking, and discoloration are frequent challenges when repairing leather sofas, car seats, and other leather items. These problems often stem from using a low-quality leather repair kit, improper surface preparation, or incorrect application of leather glue, filler, or dye. If you notice peeling or cracking, it may be necessary to gently remove the damaged layer, reapply a thin, even layer of leather filler, and ensure it dries completely before proceeding. Discoloration can sometimes be corrected by applying a matching leather dye or leather repair cream, but achieving a perfect match can be difficult without professional experience. To prevent these issues, always use a reputable repair kit, follow the instructions carefully, and maintain your leather by conditioning it regularly and protecting it from direct sunlight and spills. If problems persist, consulting a professional leather repair specialist can help restore your leather sofas and car seats to their best possible condition.
The Hidden Costs of Failed DIY Repairs
Compounding the Original Damage
When DIY repairs fail, they often create additional problems that make professional restoration more complex and expensive. Poorly applied adhesives can penetrate deep into the leather, requiring extensive cleaning and preparation before proper vinyl repair can begin. Incorrect colour applications may need to be stripped away entirely, potentially damaging more of the original leather in the process.
Failed patch attempts can also weaken the leather around the original damage, turning a small, localised problem into a larger area requiring attention. Improper placement of a patch beneath the tear can further compromise the repair and the surrounding leather, making the damage worse. What might have been a straightforward professional repair initially can become a complex restoration project after unsuccessful DIY attempts.
Reduced Furniture Value and Lifespan
Obvious DIY repairs can significantly impact your furniture’s appearance and resale value. Professional buyers and appraisers can easily identify amateur repair work, which often reduces the piece’s value more than the original damage would have, especially if it was made of faux leather . Additionally, improper repairs can accelerate wear in surrounding areas, potentially shortening your furniture’s overall lifespan. Leather upholstery can last 5–25 years, but improper DIY repairs can shorten this lifespan.
When to Choose Professional Restoration
Valuable or Antique Pieces
If your leather furniture has significant monetary or sentimental value, professional restoration is always the wisest choice. Antique pieces, designer furniture, or family heirlooms deserve the careful attention that only experienced professionals can provide. The cost of professional restoration is typically far less than the potential loss in value from failed DIY attempts.
Extensive or Complex Damage
Large tears, multiple damaged areas, or damage that affects the furniture’s structural integrity require professional attention. These complex repairs often involve reinforcement techniques, such as inserting a sub patch beneath the damaged area to provide additional support before restoring the leather surface. Multiple colour applications and specialised finishing processes that are beyond the scope of DIY repair kits may also be required.
Colour Matching Challenges
When damage occurs to leather with unique colours, patterns, or finishes, professional colour matching becomes essential. Restoration specialists can create custom colour blends and apply them using techniques that ensure seamless integration with the existing finish.
Maintaining Your Leather Furniture
Regular Cleaning and Conditioning
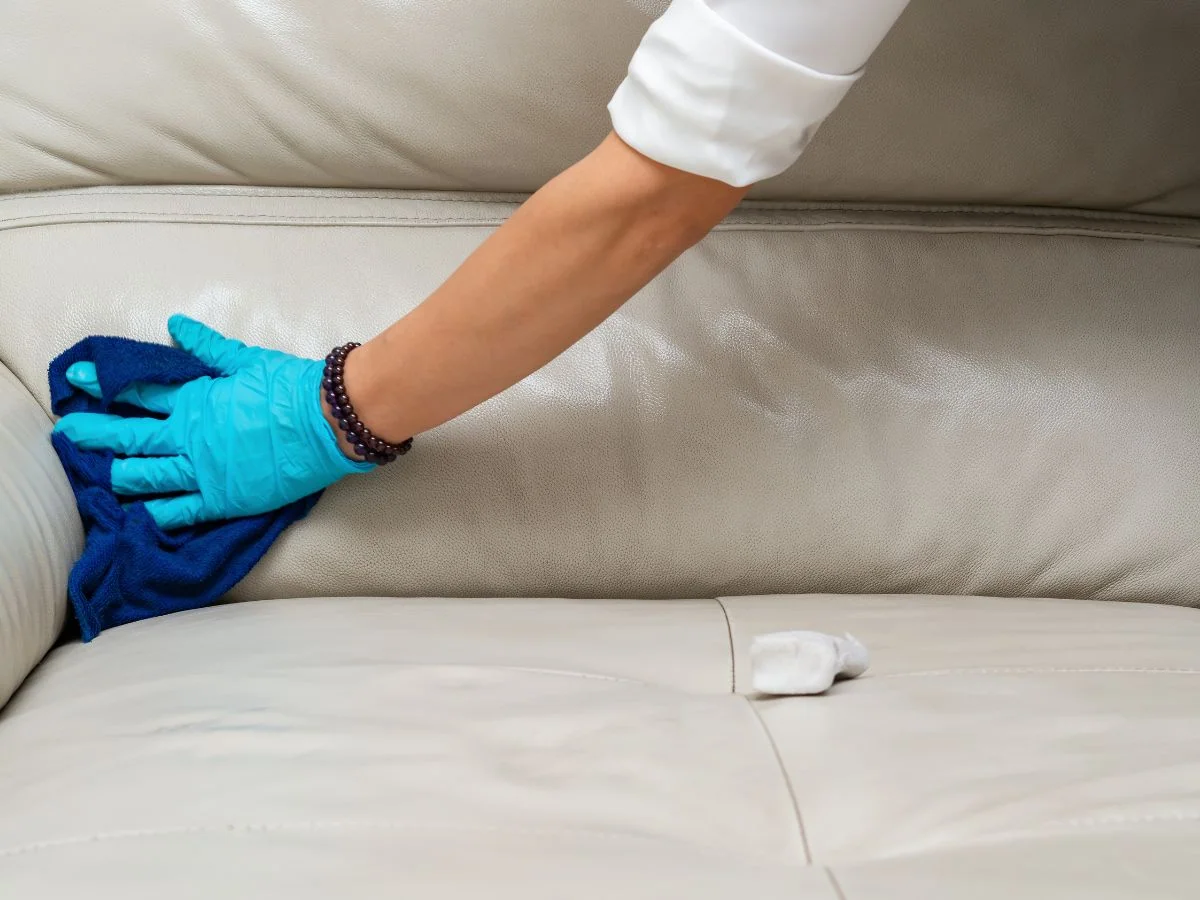
Proper leather furniture maintenance is the best way to prevent damage that requires repair. Regular cleaning with appropriate leather cleaners removes dirt and oils that can cause premature wear, whilst conditioning keeps the leather supple and resistant to cracking.
The choice between professional leather cleaning vs DIY methods can significantly impact your furniture’s longevity and appearance. Professional cleaning services can deep-clean your leather furniture using methods that remove embedded dirt and restore the leather’s natural oils without causing damage. During routine maintenance, you can use a paper towel to quickly clean up spills or wipe away excess conditioner, helping to keep your leather tidy and well-maintained. This preventive approach often costs less than major repairs and keeps your furniture looking its best for years longer.
Professional cleaning services can deep-clean your leather furniture using methods that remove embedded dirt and restore the leather’s natural oils without causing damage. During routine maintenance, you can use a paper towel to quickly clean up spills or wipe away excess conditioner, helping to keep your leather tidy and well-maintained. This preventive approach often costs less than major repairs and keeps your furniture looking its best for years longer.
Environmental Considerations
Protecting your leather furniture from direct sunlight, extreme temperatures, and low humidity can prevent many common types of damage. Understanding how environmental factors affect leather helps you position and care for your furniture to minimise repair needs.
Conclusion
Whilst the appeal of DIY leather sofa patching is understandable, the reality is that successful leather repair requires specialised knowledge, professional-grade materials, and years of experience to achieve invisible, lasting results. The risks of compounding damage, creating obvious patches, and reducing your furniture’s value make professional restoration the wiser choice for most situations.
Don’t let a well-intentioned DIY attempt turn a minor repair into a major restoration project. With over 30 years of experience, seasoned professionals can assess your specific situation and provide expert guidance tailored to your leather furniture restoration needs. Trusting experts ensures your cherished pieces receive the care they deserve, preserving their beauty and longevity. Contact us today and let our professionals assess your leather restoration needs.